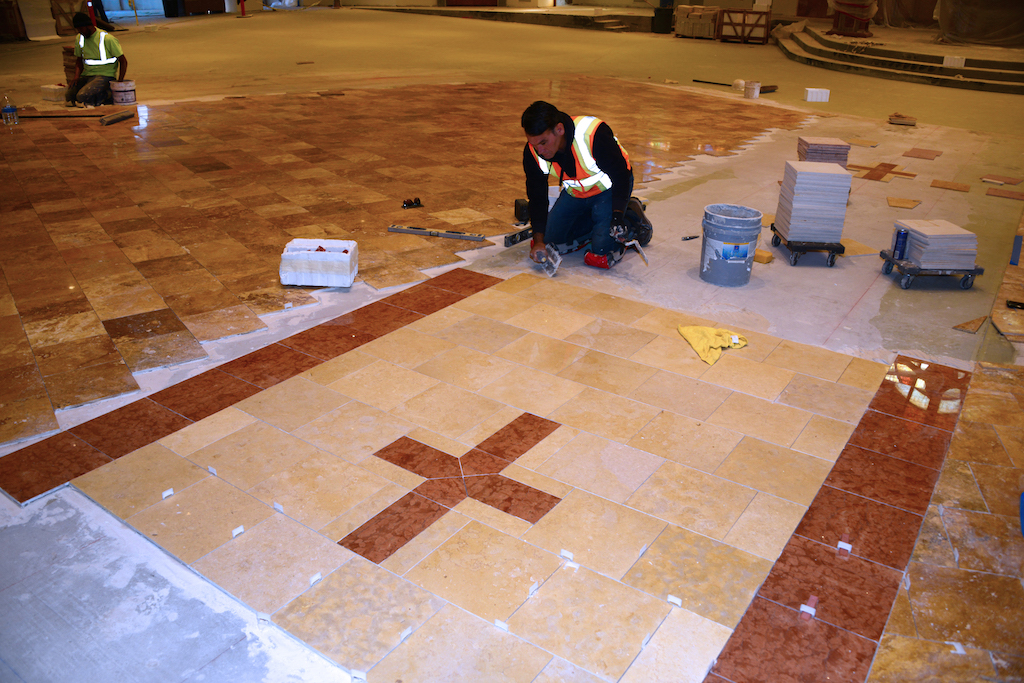
Tile installation is a fantastic way to upgrade the look and feel of your home. Whether you’re renovating a bathroom, kitchen, or any other space, tiles can add a touch of elegance and style. However, tile installation can be a daunting task for many homeowners. From choosing the right tiles to preparing the surface and applying the grout, there are many steps involved in the process. In this comprehensive guide, we’ll walk you through everything you need to know about tile installation, including tips, tricks, and techniques to ensure a successful project.
Choosing the Right Tiles
The first step in any tile installation project is choosing the right tiles for your space. There are many factors to consider, including the size, shape, color, and material of the tiles. Ceramic and porcelain tiles are popular choices for their durability and ease of maintenance. Natural stone tiles, such as marble, granite, and travertine, add a luxurious feel to any space but require more maintenance.
Preparing the Surface
Before you begin tiling, it’s essential to prepare the surface properly. Ensure that the surface is clean, dry, and free of any dust or debris. If you’re tiling a bathroom or kitchen, you’ll need to remove any old tiles and adhesive. Use a suitable adhesive remover and a scraper to remove any stubborn residue.
Laying the Tiles
Once the surface is prepared, it’s time to start laying the tiles. Start by dry laying the tiles to determine the layout and ensure that everything fits correctly. Use tile spacers to maintain even gaps between the tiles. When you’re satisfied with the layout, you can begin applying the adhesive.
Applying the Adhesive
Choose a suitable adhesive for your tiles and follow the manufacturer’s instructions for mixing and application. Use a trowel to spread the adhesive evenly over the surface, working in small sections at a time. Press the tiles firmly into the adhesive, using spacers to maintain even gaps.
Grouting
After the adhesive has dried, usually after 24 hours, it’s time to grout the tiles. Choose a grout color that complements your tiles and mix it according to the manufacturer’s instructions. Use a rubber grout float to apply the grout, working it into the gaps between the tiles at a 45-degree angle.
Sealing the Tiles
Once the grout has dried, it’s essential to seal the tiles to protect them from stains and damage. Choose a suitable sealer for your tiles and follow the manufacturer’s instructions for application. Use a paintbrush or roller to apply the sealer evenly, working in small sections at a time.
Maintaining Your Tiles
To keep your tiles looking their best, it’s essential to maintain them properly. Regular cleaning with a mild detergent and water will help prevent dirt and grime buildup. Avoid using harsh chemicals or abrasive cleaners, as these can damage the tiles.
Conclusion


